Friday 19 July 2013

Karuta Roromiya Makeup

Hey y'all! It's Ruka again(: Think you guys must be sick of me already,
haha... Anyhow, today's post is about my makeup for my Roromiya
Karuta (Inu x Boku SS) cosplay. I did the maid version, which basically looks
like this:


Disclaimer: TOTALLY NOT A MAKEUP GURU. In fact, I rarely wear makeup. Hello,
school yo. So yeah. Not too good at it yet, just sharing and trying to improve.

Cute right? My eyes are actually pretty small naturally (stereotypical, I know).
Also, they're almond-shaped and slightly slanted. To me, Karuta's eyes look
"boxy" and slightly droopy. And infinitely larger than mine. Yes. Anyway. I tried
to do that, and this was the result!


I managed to make my eyes a lot bigger, but I drew the bottom eyeliner too
straight, I feel, such that my eyes still look very "pointy"... Oh well. Ruki's
the one with all the makeup skills... So this is how I did it!

I actually did my makeup in 2 stages, leaving the house with only base makeup
and basic eye makeup, like this:


Sorry for unclear pics >_<
So, I extended my eyeliner downwards and waaaay further out than normal,
but I guess out of habit it started winging at the end (=_=) I also put on double
eyelid tape though my crease would be hidden by my falsies later. This is cos
genetically, some people like me are born with extra eyelid skin, so it kinda "sags",
especially with age, and mine basically covers half my eye. Like this:


See the difference when I put on the tape? (Not wearing tape on the bottom left pic,
but I am wearing eye makeup.) Yup. My eyelids are still very tapered and
hooded, but short of surgery there's nothing much I can do about it, so... OH WELL.
Oh, and for this look I only used the Dollywink #01 Palette! I LOVE THIS THING.
1000000 thanks to Ruki who bought it for me in Japan (it's slightly cheaper than in
sg Watsons).

For phase 2, I darkened the eye shadow on my crease, and blended it above my
real one. I also lined my bottom lashline away from my actual eye to the halfway point
where my iris is. Sorry, rushing, so no pics! Then, I wore my diamond lashes and
Dollywink #08 Pure Little. I went for thick, spiky top lashes for a more intense look in the
hopes of bringing out my eyes more. I also slapped on more blusher, Candydoll
Strawberry Pink (apples of my cheeks) and Flamingo Pink (blended up cheekbones to
hairline).

For the lower lashes, I followed my "new" lower lashline and then darkened the area
just below it to make it look more realistic. I didn't really do it too far out, cos I'm still a
newbie at makeup, so a bit scared la. But thus far, this is the biggest my eyes have ever looked, haha (/*0*)/ The lenses helped too! Will review them and the lashes if I have time.
Unfortunately, didn't do as well as I had hoped for my recent exams, so I'll probably be
mugging more. AH WELLS.

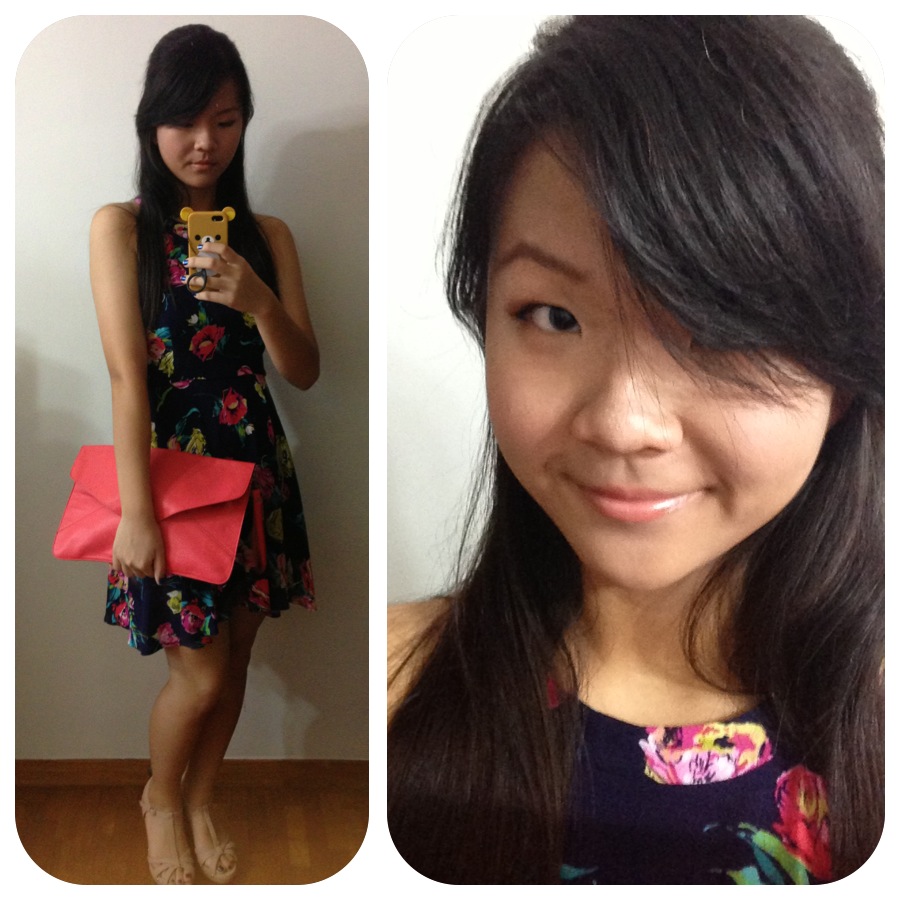
Ending off with my post-cos "sexy" faces:


MUCH LOVE,
RUKA

Sunday 7 July 2013

REVIEW: MAYBELLINE NEW YORK Pure Eraser Mineral Foundation


HARRO EFFRYBORDY :D
It's Ruka again! Just finished a week of exams, uggh. So today, I'm going to review
this foundation by Maybelline New York. The package says a heck lot of things:


 PURE. ERASER MINERAL HEALTHY ERASER FOUNDATION. Which kinda seems like overkill
for a name... Anyhoo, think I've used this enough to do a review on it, so
here we go!

First off, the packaging! Its quite small actually, if you can compare it to my thumb in
the pic above, only 20ml and has a safety seal. You twist the turquoise portion and the
foundation comes out from the sponge! The sponge itself is... fuzzy?? Yeah. For
hygiene reasons, I mostly use my fingers to dab it on, or streak it over my face with the
sponge and blend with my fingers. You can remove the sponge for washing too!
Its pretty simplistic, but also clean and functional, so I like it! Less mess, less fuss!


The product itself is also pretty good. When I use the sponge on my face,
it feels soft, yet firm enough not to be compressed and go all wonky. It goes on pretty
cleanly. However, note that THERE IS A LAG TIME from when you twist the
cap to when the product comes out. After the first time, you're only supposed to
twist about 5 clicks for a full face. When product didn't seem to come out, I
kept twisting. After a while, all the product gathered at the top of the sponge and
there was so much excess! So be careful!


The foundation is quite blend-able and the coverage is not bad, and is pretty build-able
without giving that "cake face" effect. Usually I just put my Candydoll finishing powder
on it and it can last quite well. According to some gurus, you can test the durability
of foundation by looking at your blush at the end of the day. It holds up for most of the
day for me, no flaking or weird stuff at all. After a full day, say 12 hours, my blush
would have faded, as expected, but not completely. So I think it is pretty lasting
without being too sticky when you apply. The transfer-ability is not high, but then again I only
use it in conjunction with powder, so alone, I can't say. Also, some parts of my face
got really dry, and the foundation became a little patchy in those areas and emphasised
the dryness...

When I bought it, it was also advertised as being good for sensitive skin. For those who
don't know, I have eczema. Basically, my skin is "chronically dry" and sensitive to
a million and one different things. Miraculously, even though it so dry, I'm still quite acne
prone and have quite bumpy, uneven skin with some redness. So my skin definitely
isn't the best, and the climate of Singapore isn't exactly helpful, haha (: Pictures totally don't
show the extent of my sad skin, and I only choose the nicer ones to upload hahahaha!
Thus far (about a month), this product hasn't broken me out or caused my
eczema to flare up, so YAYYYYY!

I bought OC2, which is the middle shade of the ochres aka yellow toned skin colours.
They cater to other undertones as well, which is great. I'm about a Mac NC37 and this
is kind of light for me, so I usually try not to layer too much, or use another powder
over it if I need more coverage. Its pretty good for cosplay though, but gives me a bit of a
whitish cast at first. It takes a while to settle.

These are pics of me at my cousin's wedding, and the base makeup I used was this,
and the Maybelline New York Clear Smooth powder in Honey.


MY FACE ;D

ISN'T MY DRESS PRETTY?? <3
FOR THE MORNING CHURCH WEDDING


FOR THE DINNER RECEPTION

TADAAAA MY DRESS, AND MY AWESOME GRANDPA <3<3<3


So the bottom line is that I REEAAAAALLY like this product! I do have better pictures,
but those are of me in cosplay, and I'm saving them for my post on Cosfest '13! So
hold on, ok?? o(*V*)o

Ratings time(:


Packaging: 7.5
Simple and serves its purpose well, but some may not like the sponge or not
have time to wash it regularly...

Colour/staying power: 8.5
A little light for me, but I guess that's my fault for not choosing well. It matches my yellow
undertones pretty well, and colour doesn't fade that much through the day.

Formula: 8.5
Doesn't break me out, consistency is good and doesn't really cake up. Might emphasise dryness
if not applied carefully.

Price: 7.5
For such a small amount, I remember thinking it was a little pricey, but I bought it on sale. Think
it ordinarily retails for $20+? Which is quite ex for a drugstore product, but it's quite good, so...

Overall: 8
I would repurchase because I personally like the product, but is kinda not worth it if it's not on sale.
I guess you could buy to try it, but if you already have a HG foundation, it's unlikely to convert you,
I think. People with sensitive skin who still want coverage should give it a try though! (:

That's all, BYE GUYS!
LOVE,

RUKA